If you’ve ever started a woodworking project and ended up short on lumber, stuck on a vague step, or holding a wobbly table, the problem usually wasn’t your skill. It was the plan. Good woodworking plans turn guesswork into a clear, repeatable process, and learning to read and use them is the single best way for beginners to waste less wood and finish more projects.
Here’s what to look for in a plan, how to make a cut list, and which first builds are worth trying.
The Problems Most Beginner Woodworkers Run Into
- Vague steps. “Attach the top” without saying which fasteners, how far apart, or how to keep it square.
- Missing measurements. One missing dimension can throw off every part that comes after it.
- Tool assumptions. Plans that expect a table saw, planer and jigs most garage shops don’t have.
- No cut list. You overbuy or underbuy lumber and make extra trips to the store.
- Flat, single-view drawings. Joints that look simple on paper are confusing when you try to assemble them.
What a Good Woodworking Plan Should Include
- A materials and hardware list: board sizes, sheet goods, screws, glue and finish, so you buy everything in one trip.
- A cut list with the final dimension of every part.
- Dimensioned drawings from more than one angle, ideally an exploded view showing how parts fit together.
- Step-by-step instructions that cover the tricky parts: clamping, squaring and glue-ups.
- A skill level and tool list, with alternatives for basic tools (for example, pocket screws or dowels instead of mortise-and-tenon joints).
- Finishing guidance: sanding grits and the order to apply stain and topcoat.
Many reliable free plans from woodworking magazines, tool brands and home improvement stores include all of this. Before you start, read the whole plan once from beginning to end.
How to Make a Cut List (Step by Step)
- List every part in the plan with its name, quantity, thickness, width and length.
- Group parts by material and thickness (for example, all 3/4″ plywood parts together).
- Sketch your boards or sheets on paper and lay the parts out on them, leaving about 1/8″ between parts for the saw blade.
- Add 10 to 15 percent extra material for mistakes and grain matching.
- Label each part with blue tape as you cut it: part name, final size and an arrow showing which side faces out.
Tips to Stretch Your Lumber Budget
- Cut in the right order. Break down large sheets first, crosscut boards to rough length, then rip to final width. It reduces tear-out and scrap.
- Save the best faces for what people see. Use nicer grain for tabletops and drawer fronts, and hide knots on the inside or underside.
- Buy for the whole project at once. Boards from the same batch match better in color.
- Keep your offcuts. Scraps become coasters, signs, shims and small gifts.
Great First Woodworking Projects for Beginners
Pick a project that matches the tools you already have, and only buy new tools when a project truly needs them.
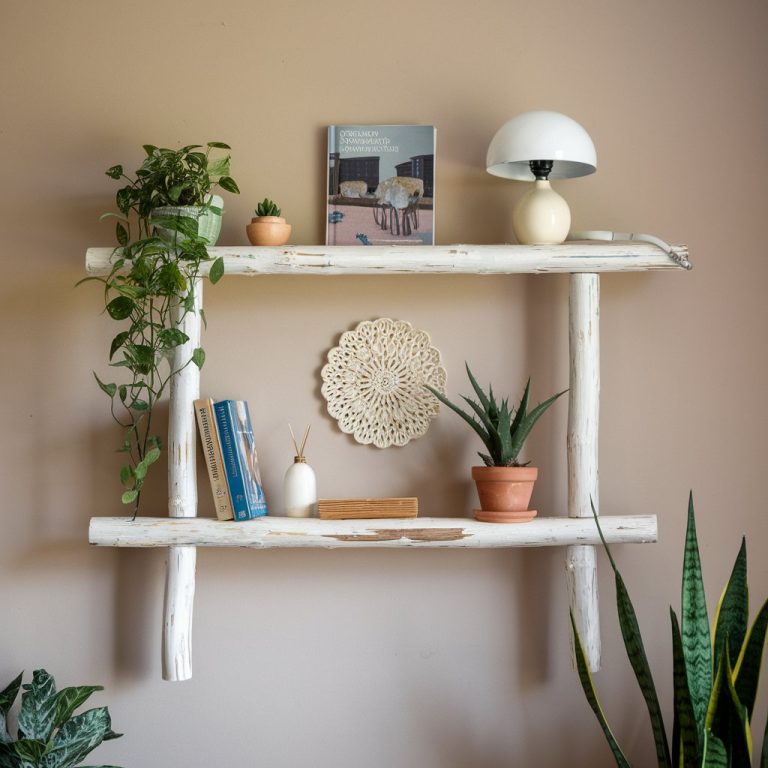
- For your home: floating shelves, a planter box, a shoe bench, a simple coffee table.
- For your workshop: a clamp rack, a drill-bit caddy, a crosscut sled.
- As gifts: cutting boards, keepsake boxes, step stools, serving trays.
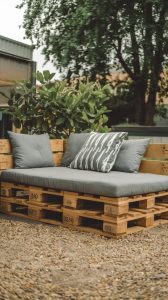
Looking for smaller weekend ideas first? Browse these easy DIY wood crafts or see how to style a DIY pallet sofa outdoors.
Helpful Videos for Your First Build
Woodworking Safety Basics
- Wear eye and ear protection, and a dust mask when sanding or cutting MDF.
- Keep blades and bits sharp; dull tools are more likely to slip or kick back.
- Use clamps and push sticks to keep your hands away from blades.
- Dry-fit every assembly before you glue, and check for square by measuring both diagonals.
- Keep your workspace clean so cords and offcuts don’t become tripping hazards.
The Bottom Line
You don’t need a big shop or expensive machines to build things you’re proud of. You need a clear plan, an accurate cut list and a project that fits your current tools. Start small, finish it, and let each project teach you something for the next one.
You’ll Also Love
Coming Soon: Free 10 Weekend Wood Projects (with materials list)
We’re putting together a free printable for you. Follow us on Pinterest so you don’t miss it, plus fresh ideas every day.